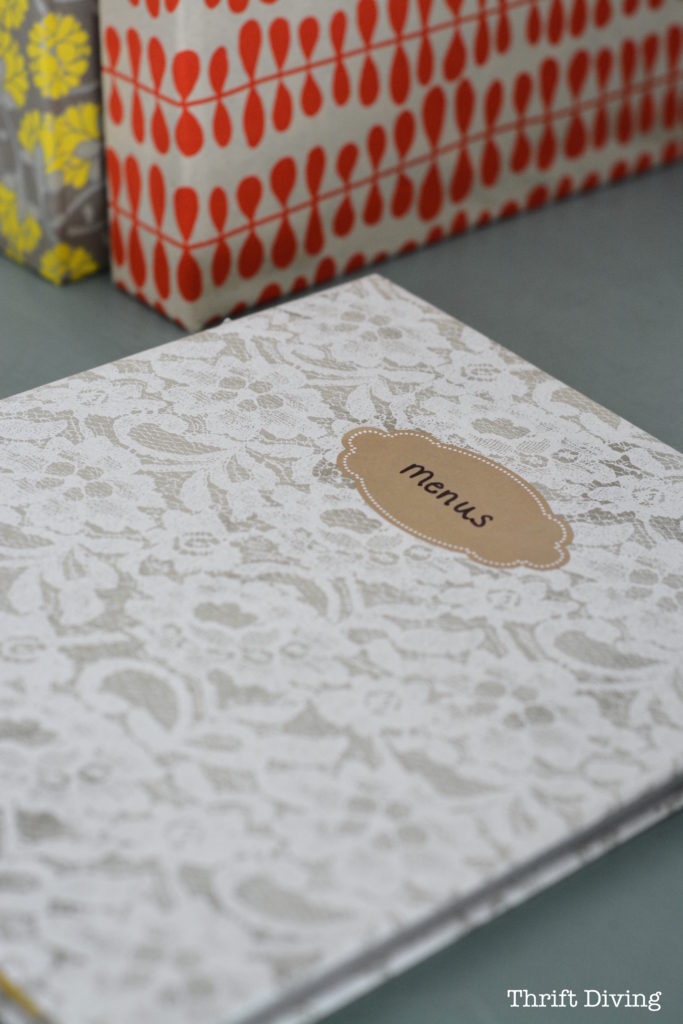
HOW TO COVER UGLY BINDERS WITH PRETTY PAPER: DIY NOTEBOOKS
It’s funny how what is supposed to be an easy project actually gave me a little bit of trouble, which I’ll explain in a bit.
But in about 30 minutes, you can do one binder, and it should look pretty good when you’re done!
Here’s what you need:
MATERIALS
- Pretty paper – I get all my pretty papers from Pretty paper
- Old or plain 3-ring binders (check the thrift store)
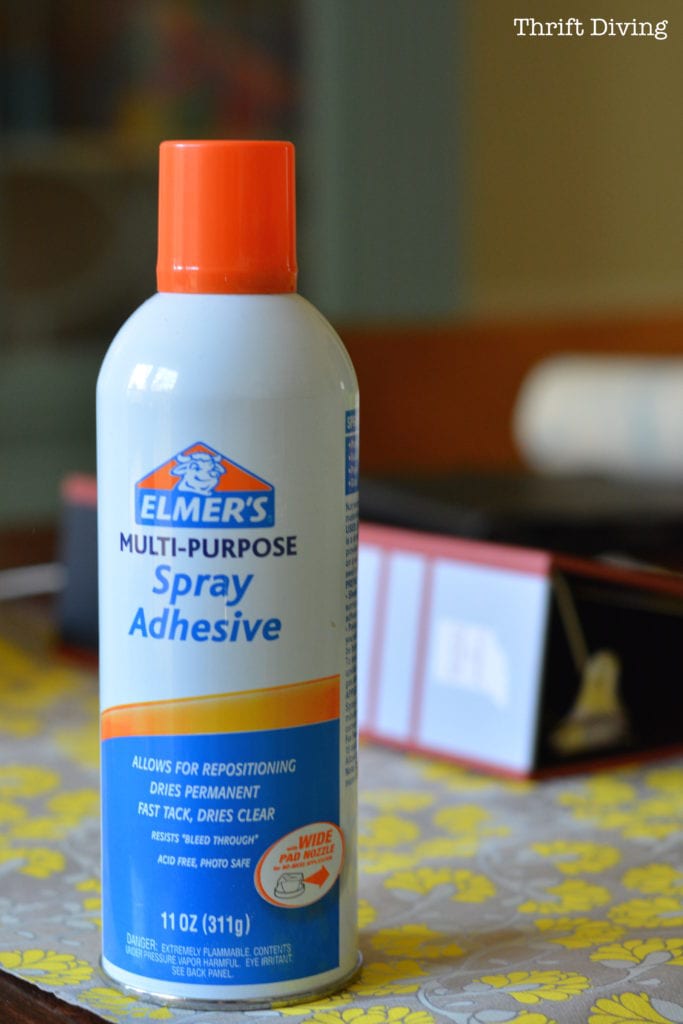
- Spray adhesive
- Scissors or paper cutter
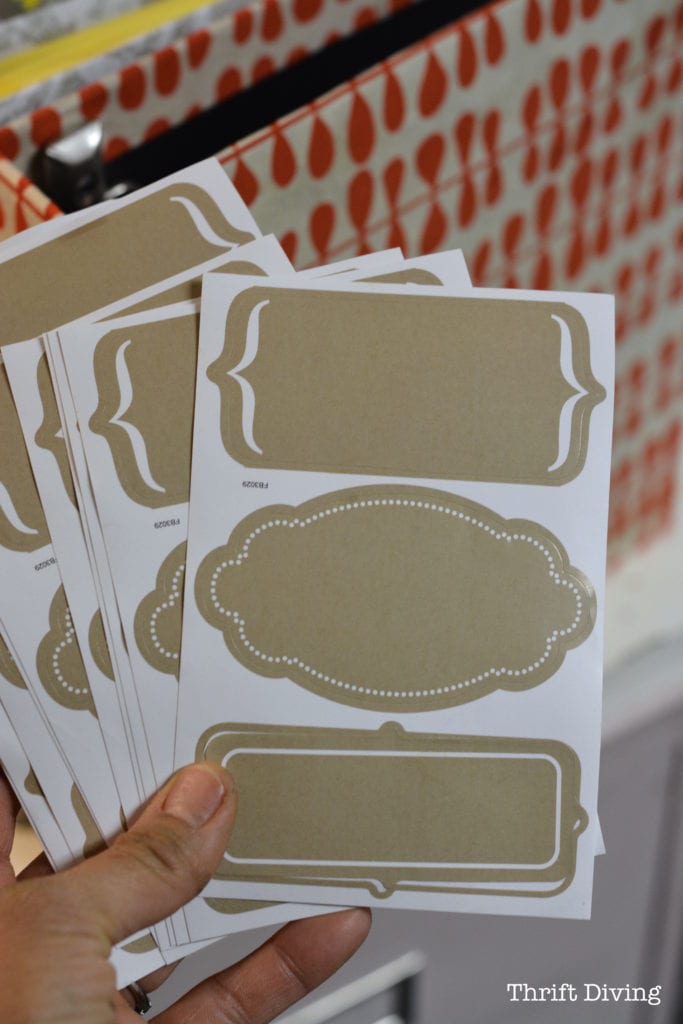
- Labels – I like these vintage ones. But I got mine from Target’s Dollar section.
A Word About Buying Paper
Here’s a tip when buying paper from Paper Source: if you find a paper you love, buy as much as your budget allows!
From my experience, they don’t always stock the same papers. I’m kicking myself for not buying more of this paper below that I used to make over an ugly thrifted lamp. They don’t carry it anymore. **SOB SOB**!
Thankfully they had the White Lace on Cement paper in case I want to buy more of that for more DIY notebooks!
.....
STEP 1: FIND A STURDY 3-RING BINDER.
I wasn’t even sure what the CRE is until I googled it. Looks like some old engineering
exam or something. As I mentioned, I had found this one at the thrift store. I’m
kicking myself for not buying more!!
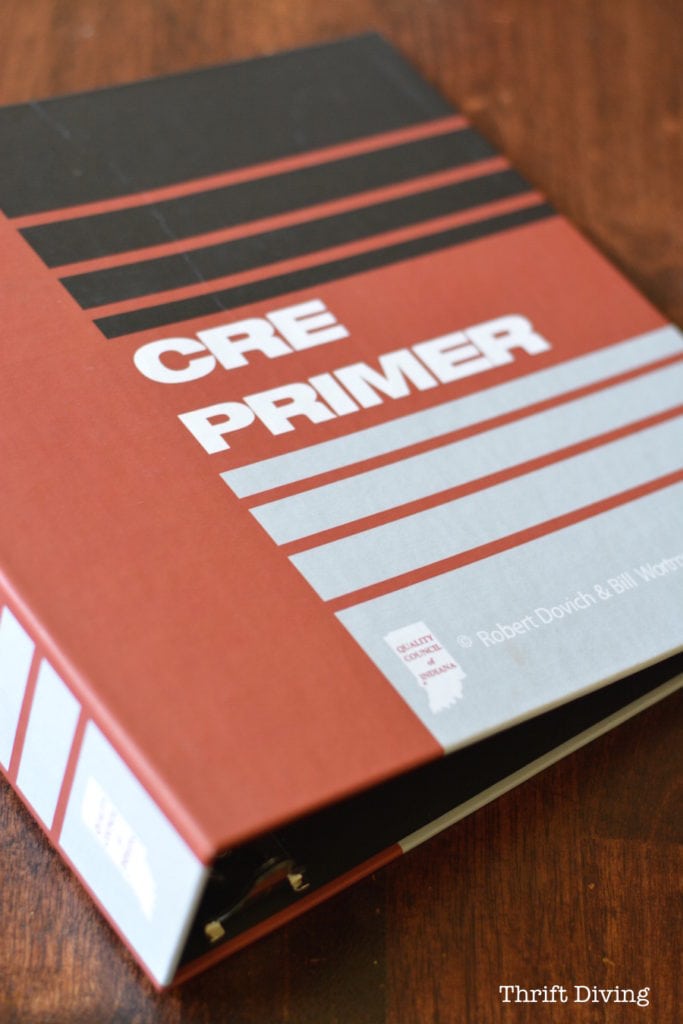
Since my son covered the back in his “artwork,” this one was good for papering, too. LOL
STEP 2: CUT OUT SEAMS ALL AROUND THE BINDER.
Remember back in the ’90s when brown paper bag bookcovers were the hotness?
LOL. Well, this is essentially the same thing, except you’ll be gluing the paper to the
binder.
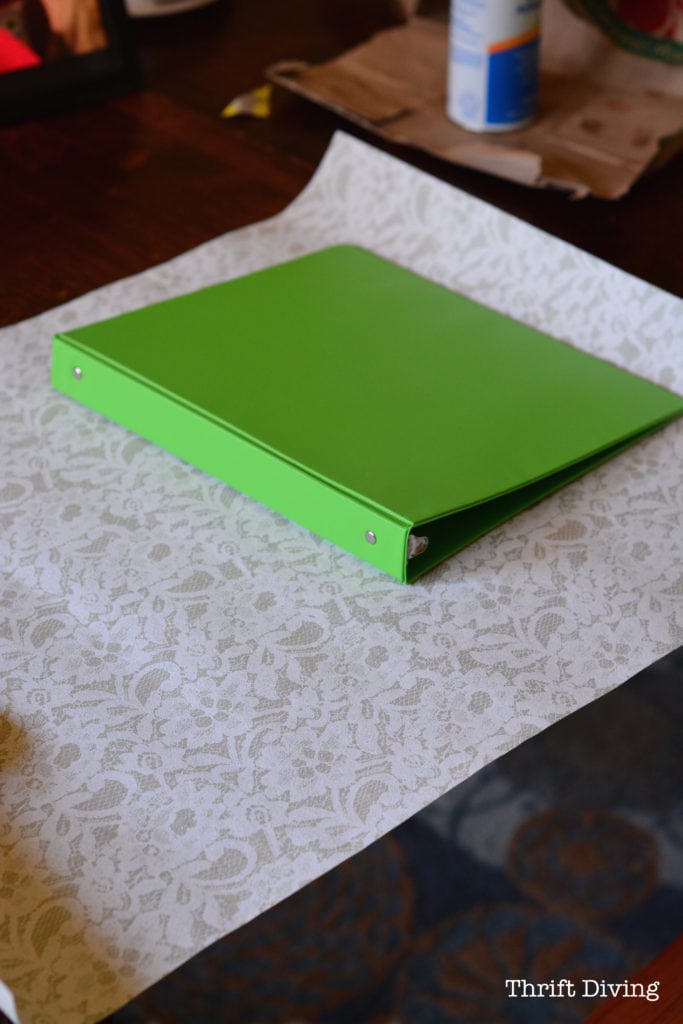
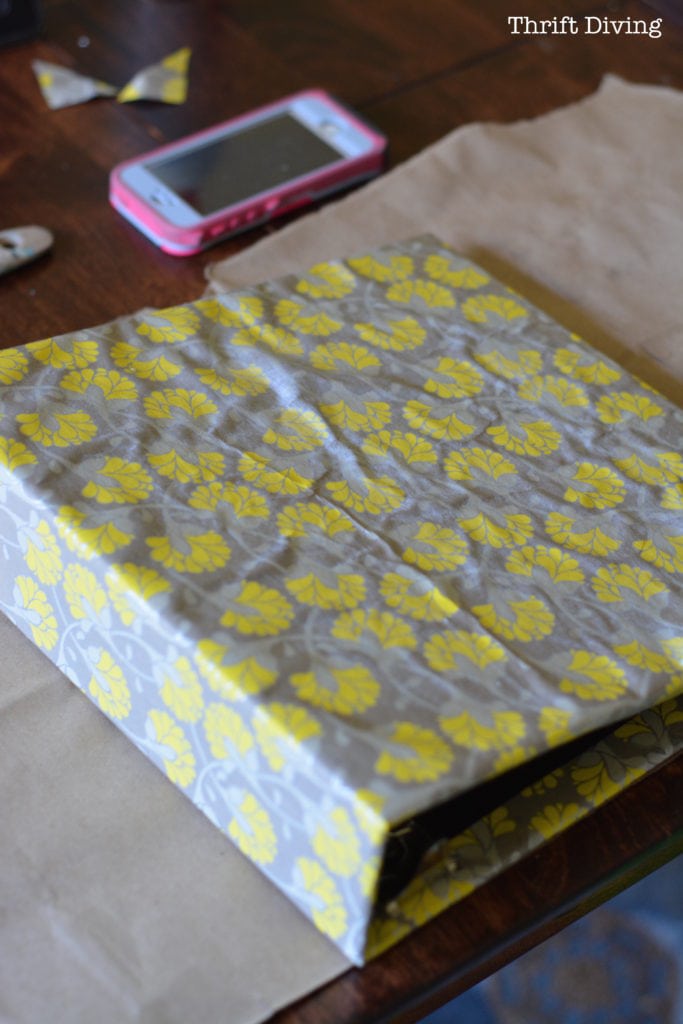
But first, lay the binder down and measure about 1″ around and trim away the excess.
Fold up your seams so that you know where the binder will go once you’re ready to
glue on the paper.
The only “iffy” spots will be where the middle 3-ring binders are attached. Just paper
around them, or see if you can shove the paper up underneath them.
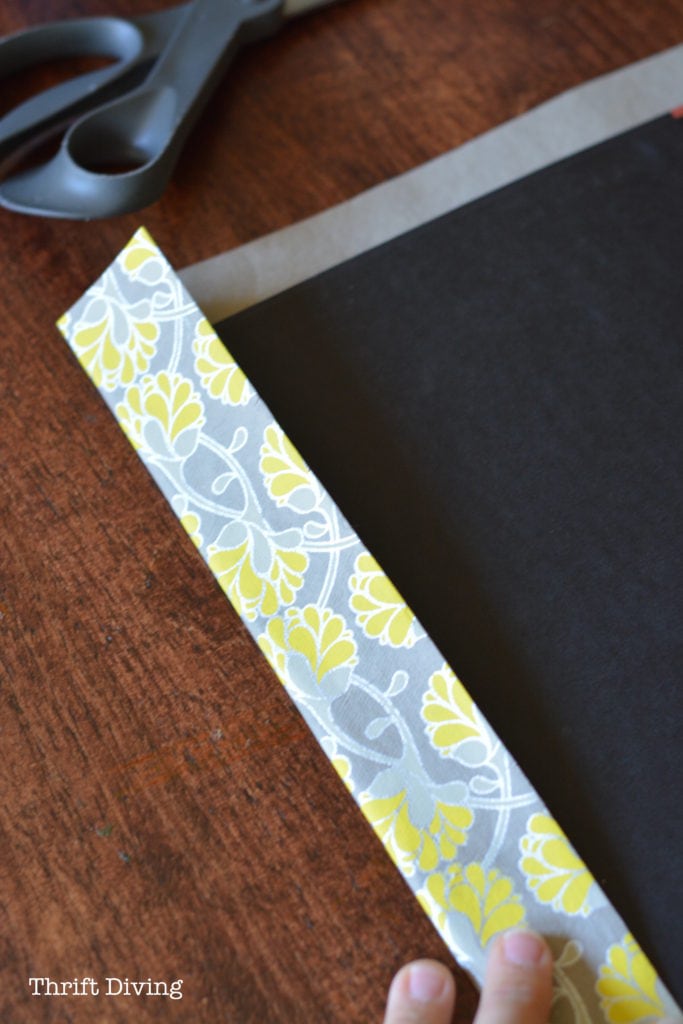
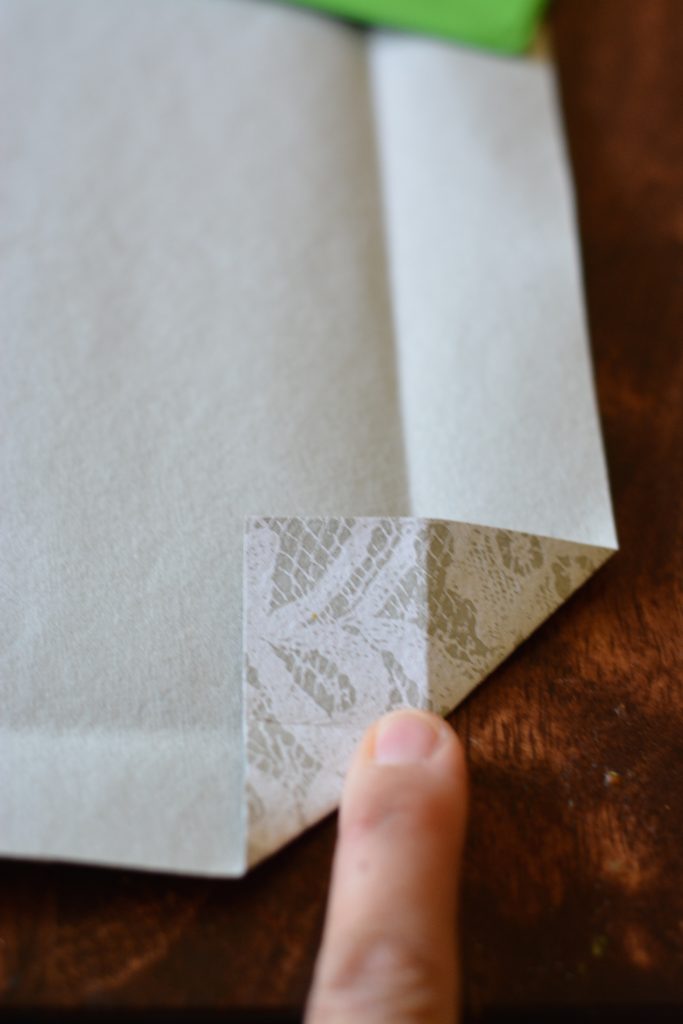
Make sure you fold your corners like this, then unfold it and snip off this triangle part
so that the paper folded inside will make a mitered corner. Plus, this cuts down on the
“corner bulk.”
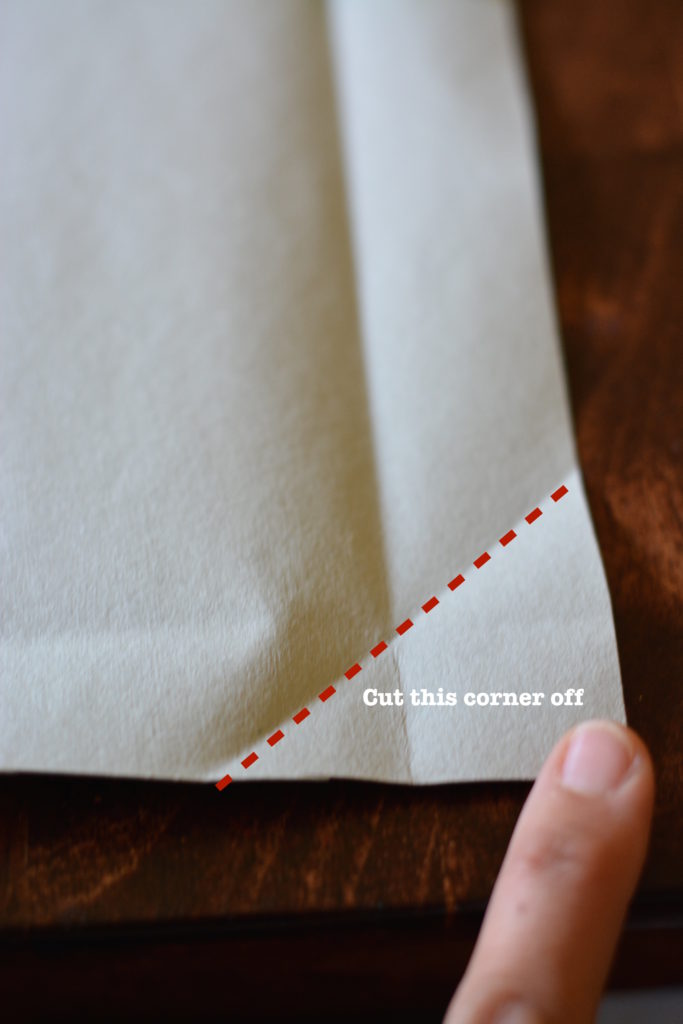
Sorry, I missed getting a picture of what the miter corner looks like. But just know that
after you snip off that corner and fold the bottom and sides in, they should make
something that looks clean and not so bulky. 
STEP 3: SPRAY YOUR BINDER.
I’m such a newbie at using spray adhesive. I’m not going to lie. I just don’t use it that
much. So stupid me sprayed the PAPER instead of the BINDER, which left some dark
spots on the paper where it was too wet. Ummmmm…..don’t you love learning from
me what not to do??? 
You’ll be all the wiser, won’t you?
Just make sure you spray the binder if you can.
Use a flat surface, like your dining room table (just be careful you don’t spray the
spray adhesive on it! Use newspaper or something to cover it up). Push the binder
onto the paper
This is the one I used.
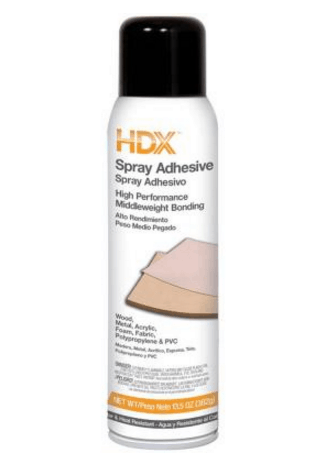
But honestly, I actually really liked using the HDX spray adhesive from Home Depot,
which I had on-hand, too. It seemed like it stuck more immediately and seemed
more “hearty.”
STEP 4: FOLD IN YOUR EDGES.
Now that my edges were less bulky, I could fold them all in.
I did add some additional paper to try to cover the edges. I’m not sure if I like this or if
I would have preferred to just leave the mitered edges.
I didn’t have enough paper to cover the insides; plus, I didn’t want to cover up the
pockets.

PUT DOWN THE MOD PODGE!!
You know how I do here at Thrift Diving….I have to share the “fails” with you! LOL
Okay, so you know how I love Mod Podge for gluing fabric to wood and for gluing
paper to stuff, right?
But you can also use it as a sealer.
So imagine this pretty binder getting water spilled on it, or some other horrible marks.
Why not Mod Podge it, right???
WRONG!
Looks what happened!
So I had just enough paper left to add more paper on top, with a center panel, trying to
make it look like I designed it this way. HA! Just totally trying to cover my screw-up!
I don’t even know if lace and yellow flowers match.
I guess it’s gonna have to.
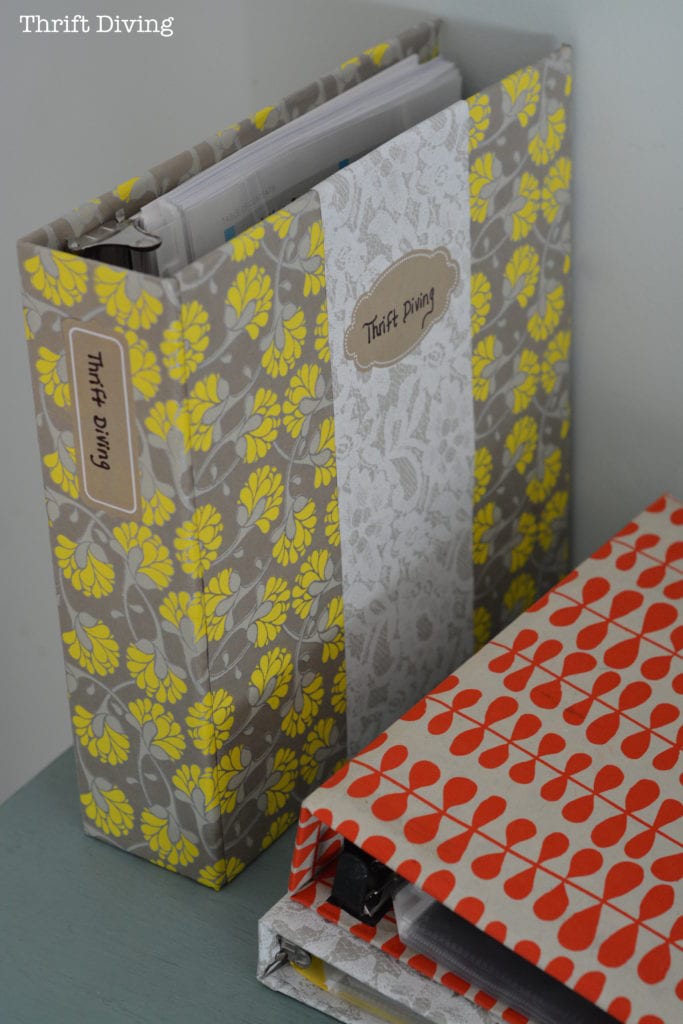
MY OTHER BOO-BOO
Open up the inside of the yellow one and you’ll see where I got a little tooooo happy with
the spray adhesive. I had a lot of crazy stuff going on inside, so this one doesn’t look the
best.

