Showing posts with label creative craft. Show all posts

Tuesday, February 6, 2018

From Thift Diving :: HOW TO COVER UGLY BINDERS WITH PRETTY PAPER: DIY NOTEBOOKS

HOW TO COVER UGLY BINDERS WITH PRETTY PAPER: DIY NOTEBOOKS

It’s funny how what is supposed to be an easy project actually gave me a little bit of trouble, which I’ll explain in a bit.
But in about 30 minutes, you can do one binder, and it should look pretty good when you’re done!
Here’s what you need:

MATERIALS

  • Pretty paper – I get all my pretty papers from Pretty paper
  • Old or plain 3-ring binders (check the thrift store)
  • Spray adhesive
  • Scissors or paper cutter
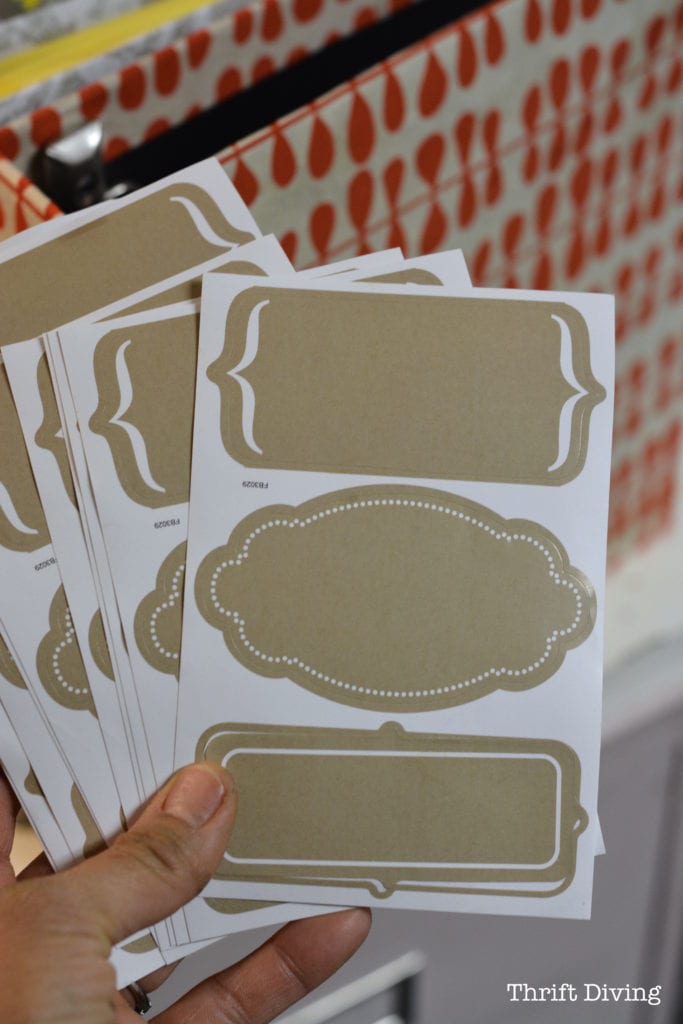
  • Labels – I like these vintage ones. But I got mine from Target’s Dollar section.
A Word About Buying Paper
Here’s a tip when buying paper from Paper Source: if you find a paper you love, buy as much as your budget allows! 
From my experience, they don’t always stock the same papers. I’m kicking myself for not buying more of this paper below that I used to make over an ugly thrifted lamp. They don’t carry it anymore. **SOB SOB**!
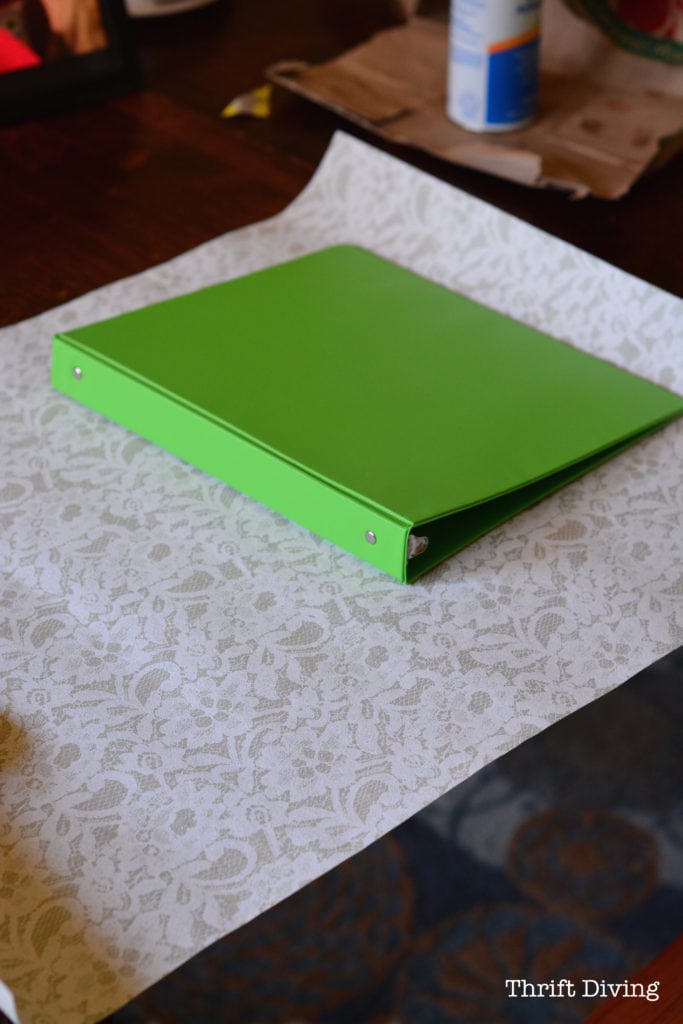
Thankfully they had the White Lace on Cement paper in case I want to buy more of that for more DIY notebooks!
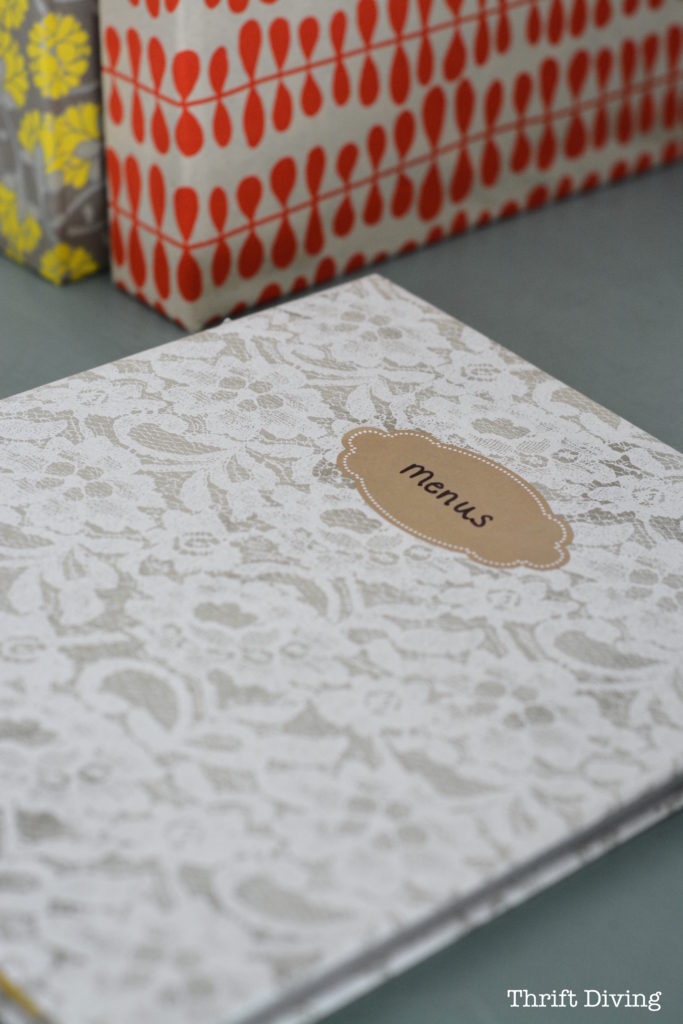
White Lace on Cement paper on a plastic 3-ring binder - ThriftDiving.com


.....

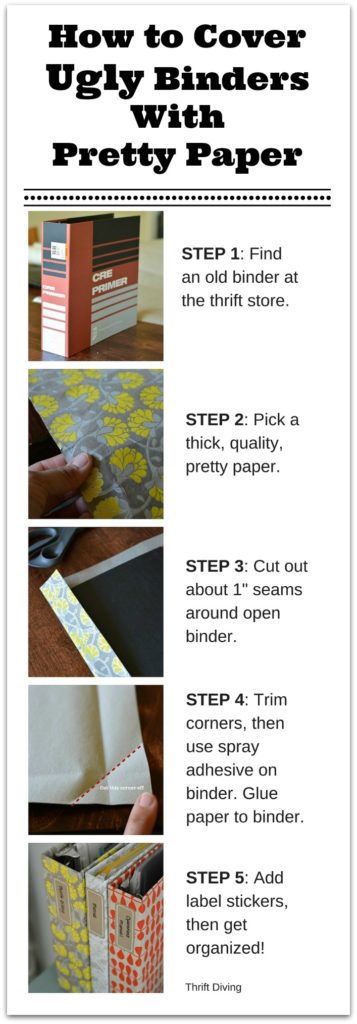
STEP 1: FIND A STURDY 3-RING BINDER.

I wasn’t even sure what the CRE is until I googled it. Looks like some old engineering 
exam or something. As I mentioned, I had found this one at the thrift store. I’m 
kicking myself for not buying more!!
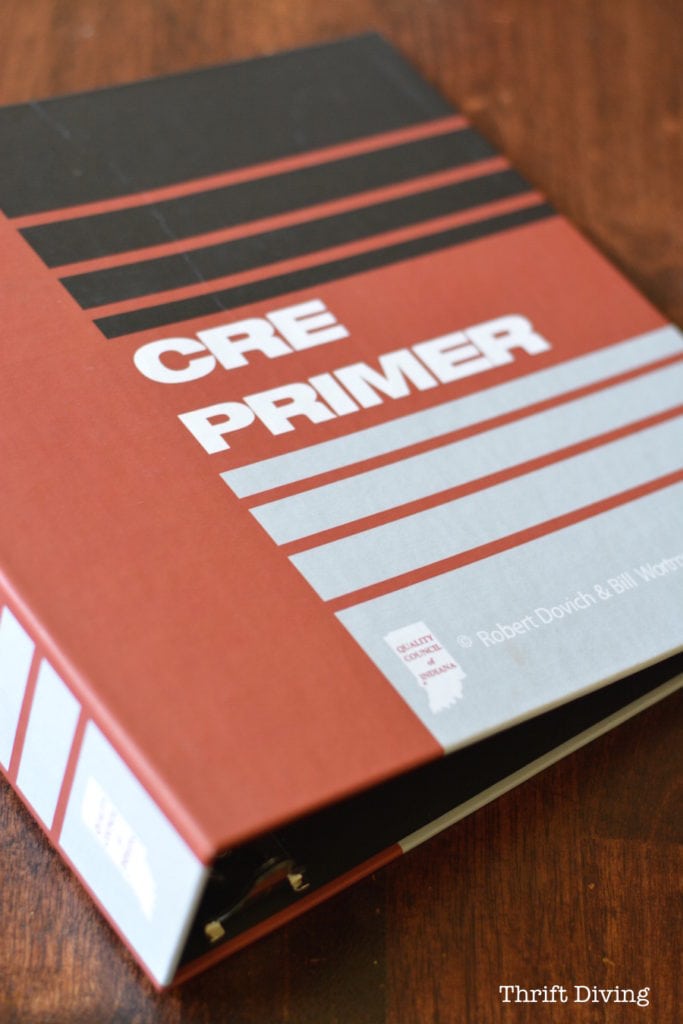

Buy a sturdy 3-ring binder at the thrift store and then cover it in pretty paper - ThriftDiving.com


I also used a couple basic plastic-covered ones.


Since my son covered the back in his “artwork,” this one was good for papering, too. LOL

STEP 2: CUT OUT SEAMS ALL AROUND THE BINDER.

Remember back in the ’90s when brown paper bag bookcovers were the hotness? 
LOL. Well, this is essentially the same thing, except you’ll be gluing the paper to the 
binder.
But first, lay the binder down and measure about 1″ around and trim away the excess.
Fold up your seams so that you know where the binder will go once you’re ready to 
glue on the paper.
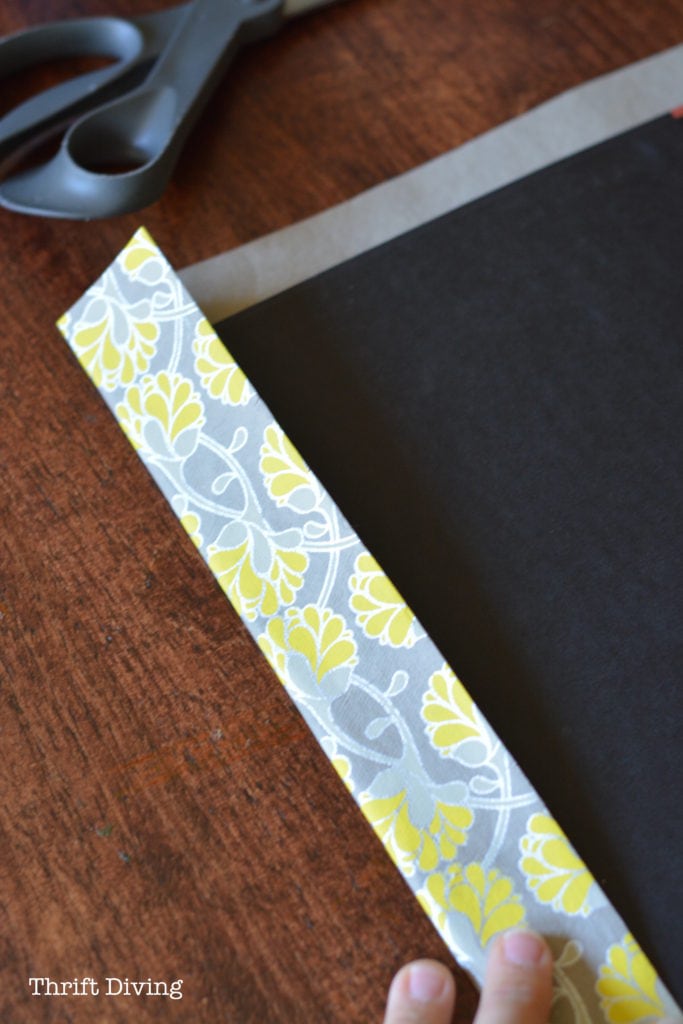


The only “iffy” spots will be where the middle 3-ring binders are attached. Just paper 
around them, or see if you can shove the paper up underneath them.
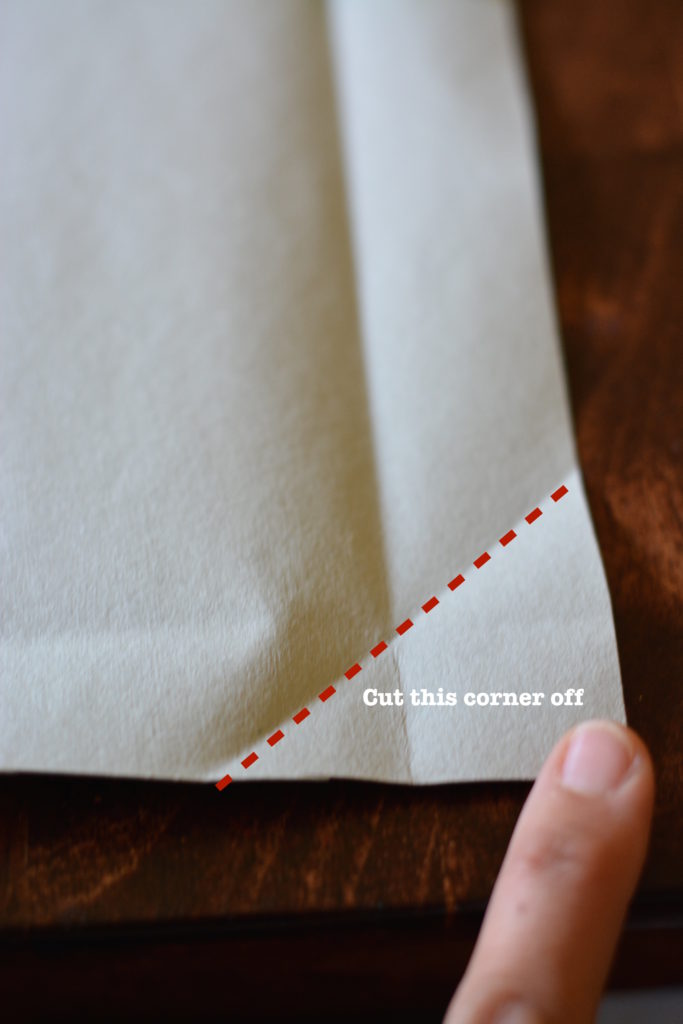
Make sure you fold your corners like this, then unfold it and snip off this triangle part 
so that the paper folded inside will make a mitered corner. Plus, this cuts down on the 
“corner bulk.”
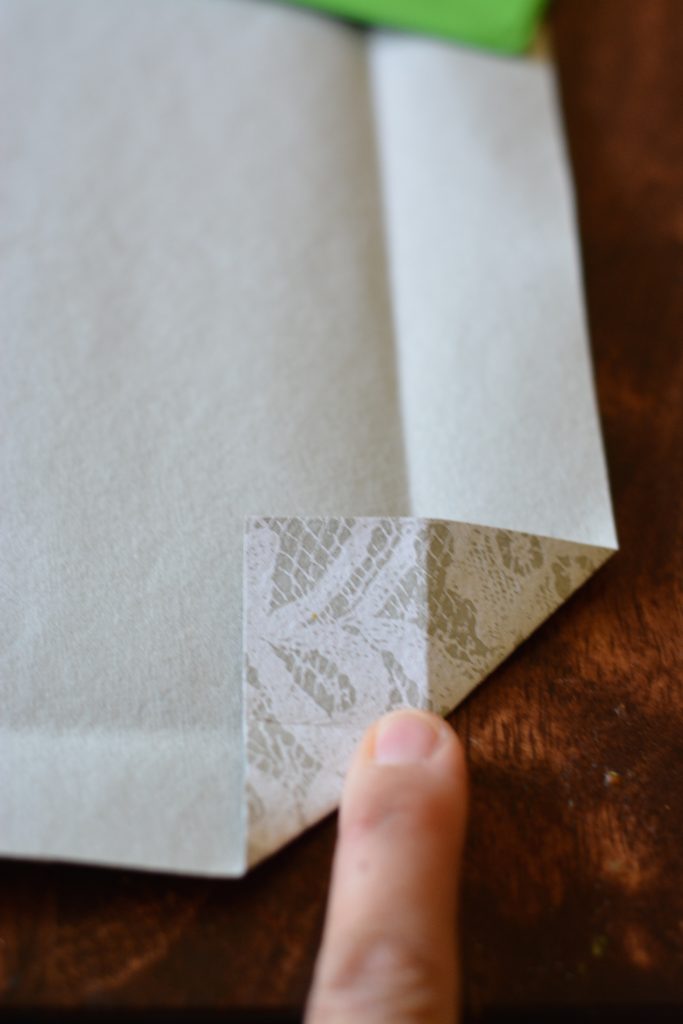
Folder your corners in when covering binders in paper - ThriftDiving.com


How to cut mitered corners when covering binders with paper - ThriftDiving.com


Sorry, I missed getting a picture of what the miter corner looks like. But just know that 
after you snip off that corner and fold the bottom and sides in, they should make 
something that looks clean and not so bulky. ðŸ™‚

STEP 3: SPRAY YOUR BINDER.

I’m such a newbie at using spray adhesive. I’m not going to lie. I just don’t use it that 
much. So stupid me sprayed the PAPER instead of the BINDER, which left some dark 
spots on the paper where it was too wet. Ummmmm…..don’t you love learning from 
me what not to do??? ðŸ˜‰
You’ll be all the wiser, won’t you?
Just make sure you spray the binder if you can.
Use a flat surface, like your dining room table (just be careful you don’t spray the 
spray adhesive on it! Use newspaper or something to cover it up). Push the binder 
onto the paper
This is the one I used.
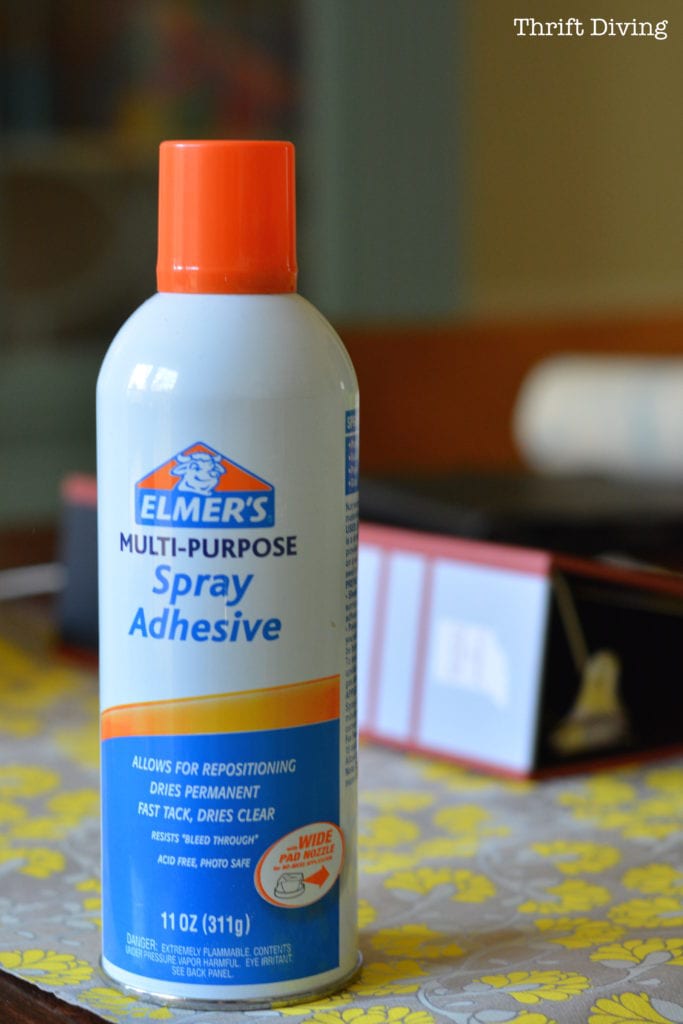
Elmer's Spray Adhesive


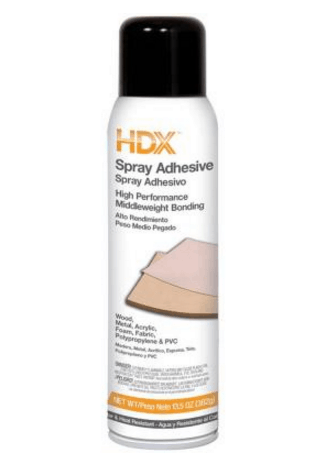
But honestly, I actually really liked using the HDX spray adhesive from Home Depot, 
which I had on-hand, too. It seemed like it stuck more immediately and seemed 
more “hearty.”


STEP 4: FOLD IN YOUR EDGES.

Now that my edges were less bulky, I could fold them all in.
I did add some additional paper to try to cover the edges. I’m not sure if I like this or if 
I would have preferred to just leave the mitered edges.
I didn’t have enough paper to cover the insides; plus, I didn’t want to cover up the 
pockets.
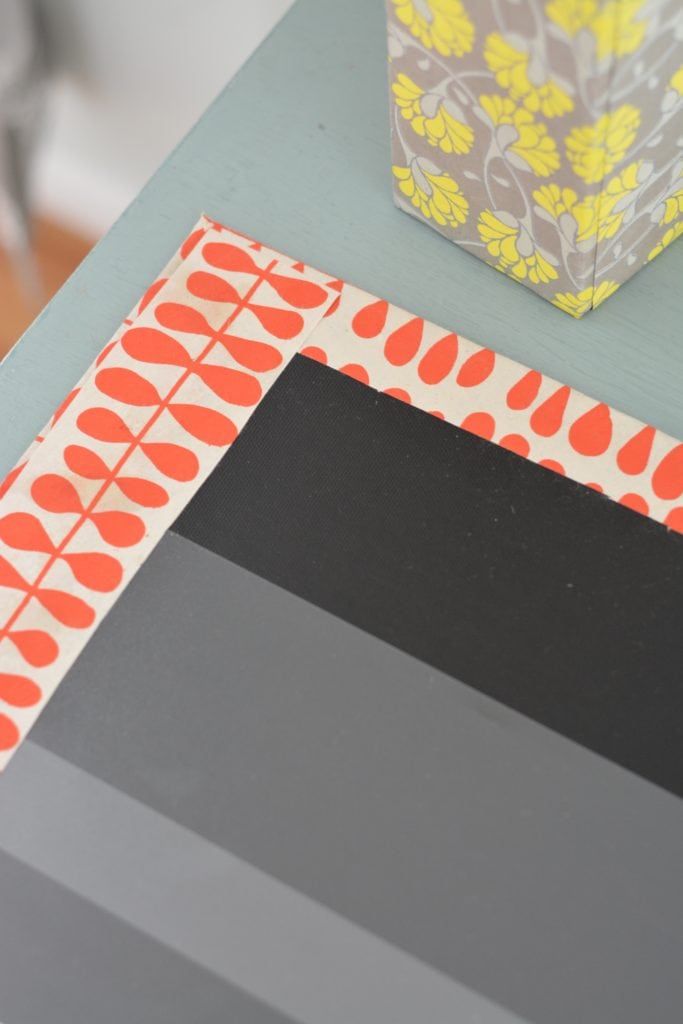
Cover binders with papers and add a sliver of paper to hide the corners


PUT DOWN THE MOD PODGE!!

You know how I do here at Thrift Diving….I have to share the “fails” with you! LOL
Okay, so you know how I love Mod Podge for gluing fabric to wood and for gluing 
paper to stuff, right?
But you can also use it as a sealer.
So imagine this pretty binder getting water spilled on it, or some other horrible marks.
Why not Mod Podge it, right???
WRONG!
Looks what happened!
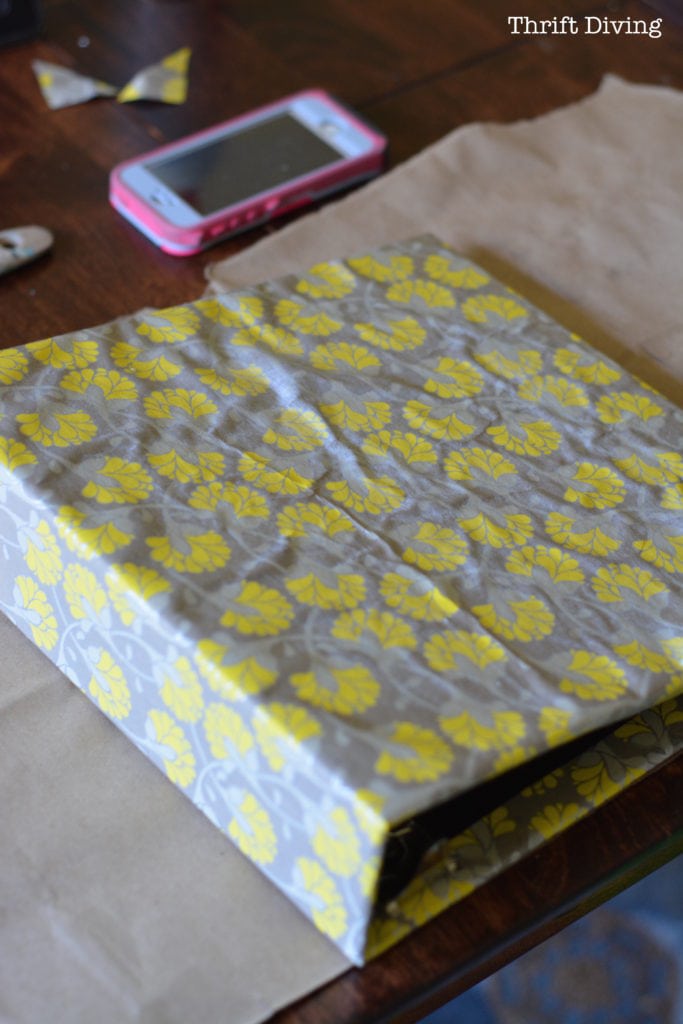
Mod Podge gone wrong when trying to seal a binder covered in paper - ThriftDiving.com


So I had just enough paper left to add more paper on top, with a center panel, trying to 
make it look like I designed it this way. HA! Just totally trying to cover my screw-up!
I don’t even know if lace and yellow flowers match.
I guess it’s gonna have to.
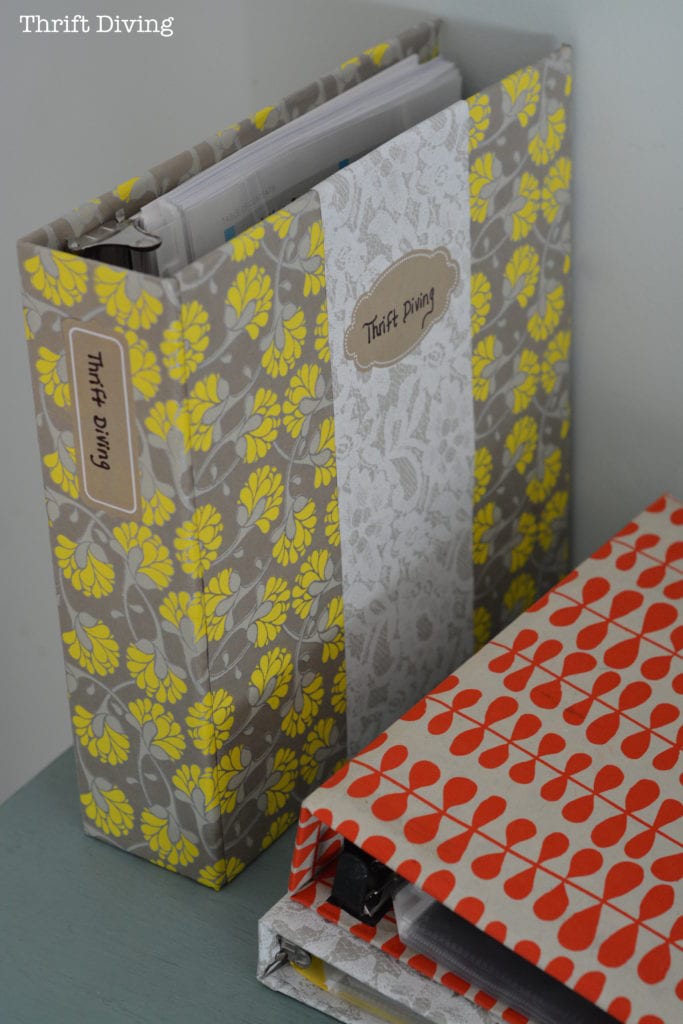

AFTER - Binders covered in pretty paper - ThriftDiving.com


MY OTHER BOO-BOO

Open up the inside of the yellow one and you’ll see where I got a little tooooo happy with 
the spray adhesive. I had a lot of crazy stuff going on inside, so this one doesn’t look the 
best.
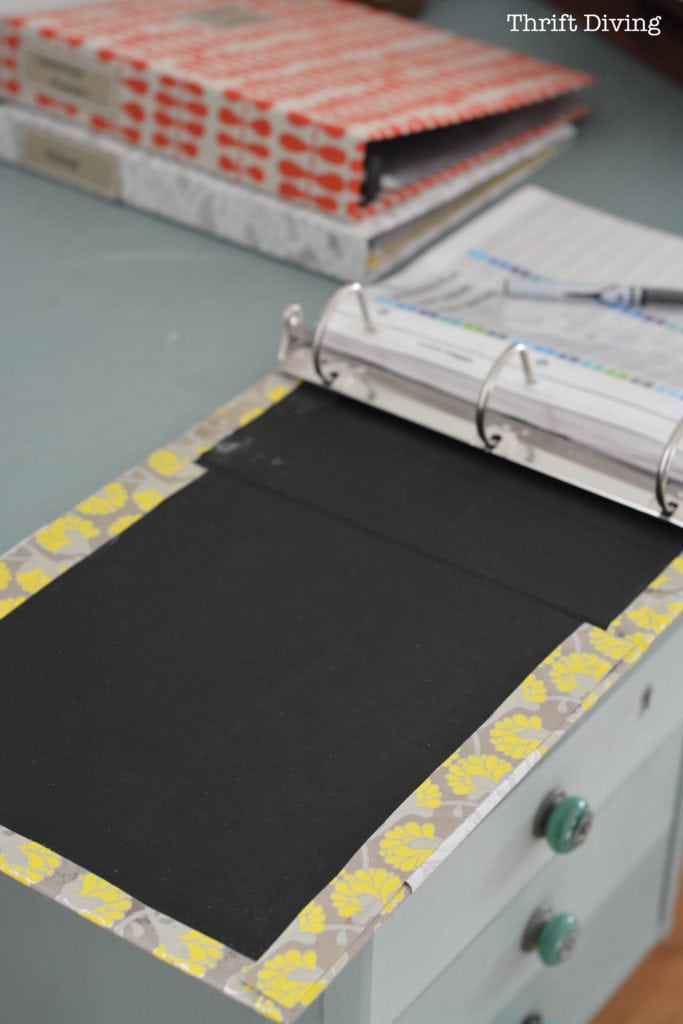
Got a little too happy with spray adhesive


STEP 5: ADD PRETTY LABELS AND DOCUMENTS.

I had picked up these labels eons ago from Target, from their Dollar section. I had never 
really used them until now.

Cheap labels from Target

How to Cover Ugly Binders with Pretty Paper - ThriftDiving.com Blog

Wednesday, March 13, 2013

Craft Table with Storage


Materials: 
2 IKEA Expedit (2 x 4) bookcases 
2 sheets of plywood (3/4") 
5 heavy duty casters 
5 washers 
5 lockwashers 
leftover flooring 
trim 
18 - 20 L-brackets 

Description: 
1. Assemble the two bookcases 

2. Cut the two sheets of plywood down to 6 ft (cut 2 ft off the long side). The sheets will now measure 4ft x 6 ft). Paint one side of each sheet to match/coordinate the finish of your EXPEDIT pieces. In my case, I just painted them white. 

3. Mount 4 of the casters in the four corners (within 6" of the edge of the long side so that they will not interfere with the bookcases), and one in the center. The casters should be mounted on the side of the plywood that is NOT painted. 


4. Position the bookcases parallel to each other but with 13 1/4" of space in between them. Position the plywood (with the casters) on top of the two bookcases. You should now have a 6" overhang on the long ends, and a 2" overhang on the short ends. Secure the the plywood and the bookcases together with L-brackets (2 on each of the short ends and 1 in the middle of the long side). 


5. FOR THIS STEP ASSISTANCE IS REQUIRED !! Turn the table upright (see photo above) 

6. Attach the 2nd piece of plywood (painted side down) to the top of the two bookcases, using the same measurements you used on the bottom. 


7. Finish the top with the covering of your choice. I used leftover flooring for mine. In the main picture, I have attached the trim to the top but not yet to the bottom.

~ Irene Grimes

Gallery Wall


Gallery Wall for the Living Room / Office!


The gallery wall in the living room / office is up! It took a while, but I definitely think it was worth it :) I started with a push pin board that I made out of an old frame, you can read more here

While David and I were in Home Depot picking up wood to build the sofa table ... I found this image on Pinterest and thought that it would be a perfect solution for the gallery wall - so we grabbed materials for that and got to work!


Pinterest links here but I couldn't find the original image ...

We needed something that would be light to avoid the curtain wire sagging, so this was perfect!

Then David cut the frames with our fancy new saw - he has used it for the desk and chairsthe sofa table, and the tv stand (photos soon!) and so far he loves it!


1. Screen Mold (1/4" x 3/4" x 8') was selected to make the frames out of - We decided on a composite because it was about half the price of wood

2. After determining the size of the frames needed,  screen mold was cut on a 45 degree angle with the chop saw

3. frames were glued with super glue

4. After the glue dried, I primed and applied a top coat of spray paint (I waited about 30-45 minutes between coats)

5. To hang the art - I used a grommet kit to attach the wire between the paper and frame (thanks for the ideaFlea Market Finds with Matthew Mead!)

I followed the directions on the package, except I used a hole punch instead of the tool provided because it was much easier, I would recommend!)

6. I used a rubber mallet to fasten the grommets in place

7. We hung Ikea's Dignitet curtain wire system and used Ikea's Riktig curtain clips at the top and we fastened two eye screws at the top of each frame to hang the wire from - making sure that it was tight!

8. We hung the frames and art with thin gauge wire, and attached them to the curtain clips (wire was simply twisted at the end to secure)

Finally, we used a level to help get everything straight!


The push pin board isn't hung on the curtain wire because it is too heavy ... 


I brushed on watercolor and then cut circles out with a 1" hole punch (thanks for the circle punch art ideaMer Mag!)


I made a print of special dates to us ... 


Annabelle on the top and my two sweet kitties that couldn't make the trip to CA (they are currently being spoiled by my parents and even turned my Dad into a cat lover :)


Some of my favorite pics of Annabelle playing fetch at the baseball field :)


Finally, I found a map of the US circa 1960's at a thrift store and put circle stickers on all the places that David and I have visited together - clever idea via Young House Love

and there you have it!

Cost Breakdown:

14 Frames - $20.60
Spray Paint - $7
Wire - $2.50
Eye Hooks - $4
Grommet Kit - $9
Curtain Rod and Clips - $15

Total Cost = $58.10

This idea worked perfectly for us since we are renting (less holes to patch when we leave!) and I love the shadows that are created by the floating frames!